
Start ArangoDB on Amazon Elastic Kubernetes Service (EKS)
- (version >= 1.10)
- AWS IAM authenticator
- (version >= 1.16)
Refer to the AWS documentationto accordingly fill in the below with your credentials.Pay special attention to the correct region information to find your cluster next.
AWS Access Key ID [None]: AKIAIOSFODNN7EXAMPLEAWS Secret Access Key [None]: wJalrXUtnFEMI/K7MDENG/bPxRfiCYEXAMPLEKEYDefault region name [None]: us-west-2Default output format [None]: json
Verify that you can see your cluster listed, when authenticated
$ aws eks list-clusters{"clusters": ["ArangoDB"]}
You should be able to verify the ACTIVE state of your cluster
$ aws eks describe-cluster --name ArangoDB --query cluster.status"ACTIVE"
Integrate kubernetes configuration locally
It’s time to integrate the cluster into your local kubernetes configurations
$ aws eks update-kubeconfig --name ArangoDB
At this point, we are ready to use kubectl to communicate with the cluster.
No resources found.
Create worker Stack
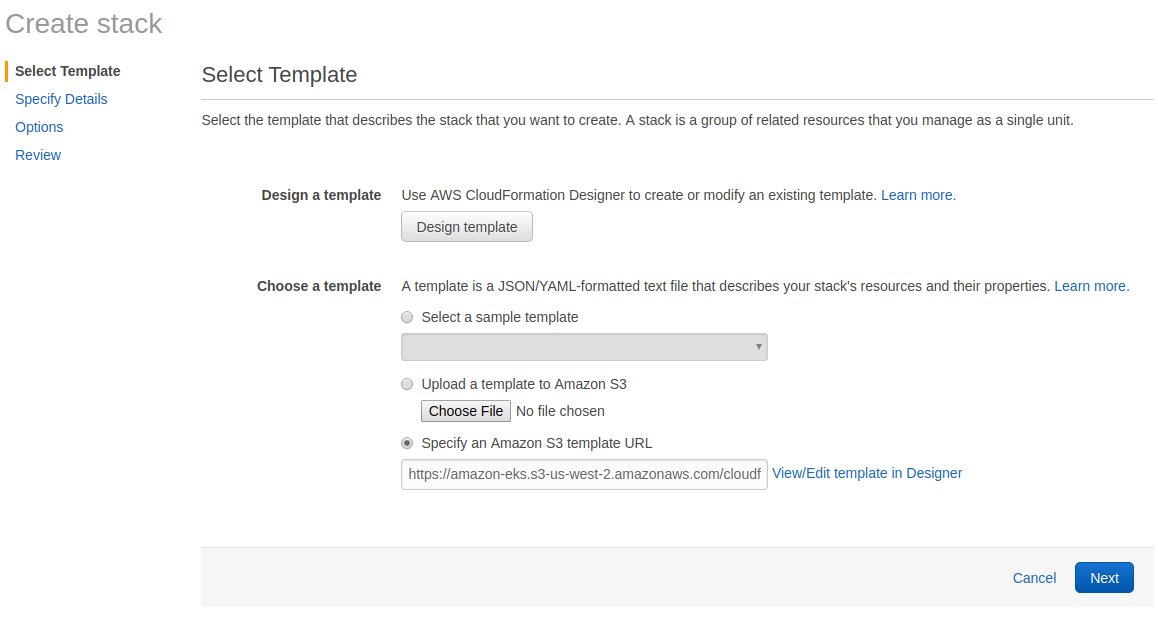
On Amazon EKS, we need to launch worker nodes, as the cluster has none.Open Amazon’s and choose Create Stack by specifying this S3 template URL:
https://amazon-eks.s3-us-west-2.amazonaws.com/cloudformation/2018-08-30/amazon-eks-nodegroup.yaml
Worker stack details
Stack name: Choose a name for your stack. For example ArangoDB-stack
ClusterName: Important!!! Use the same name as above, refer to aws eks list-clusters.
ClusterControlPlaneSecurityGroup: Choose the same SecurityGroups value as above, when you create your EKS Cluster.
NodeGroupName: Enter a name for your node group for example ArangoDB-node-group
NodeAutoScalingGroupMinSize: Minimum number of nodes to which you may scale your workers.
NodeAutoScalingGroupMaxSize: Nomen est omen.
NodeInstanceType: Choose an instance type for your worker nodes. For this test we went with the default t2.medium instances.
NodeImageId: Dependent on the region, there are two image Ids for boxes with and without GPU support.
VpcId: The same VPCId, which you get using aws eks describe-cluster —name <your-cluster-name> —query cluster.resourcesVpcConfig.vpcId
Subnets: Choose the subnets that you created in Create your Amazon EKS Cluster VPC.
Wait for stack to get ready
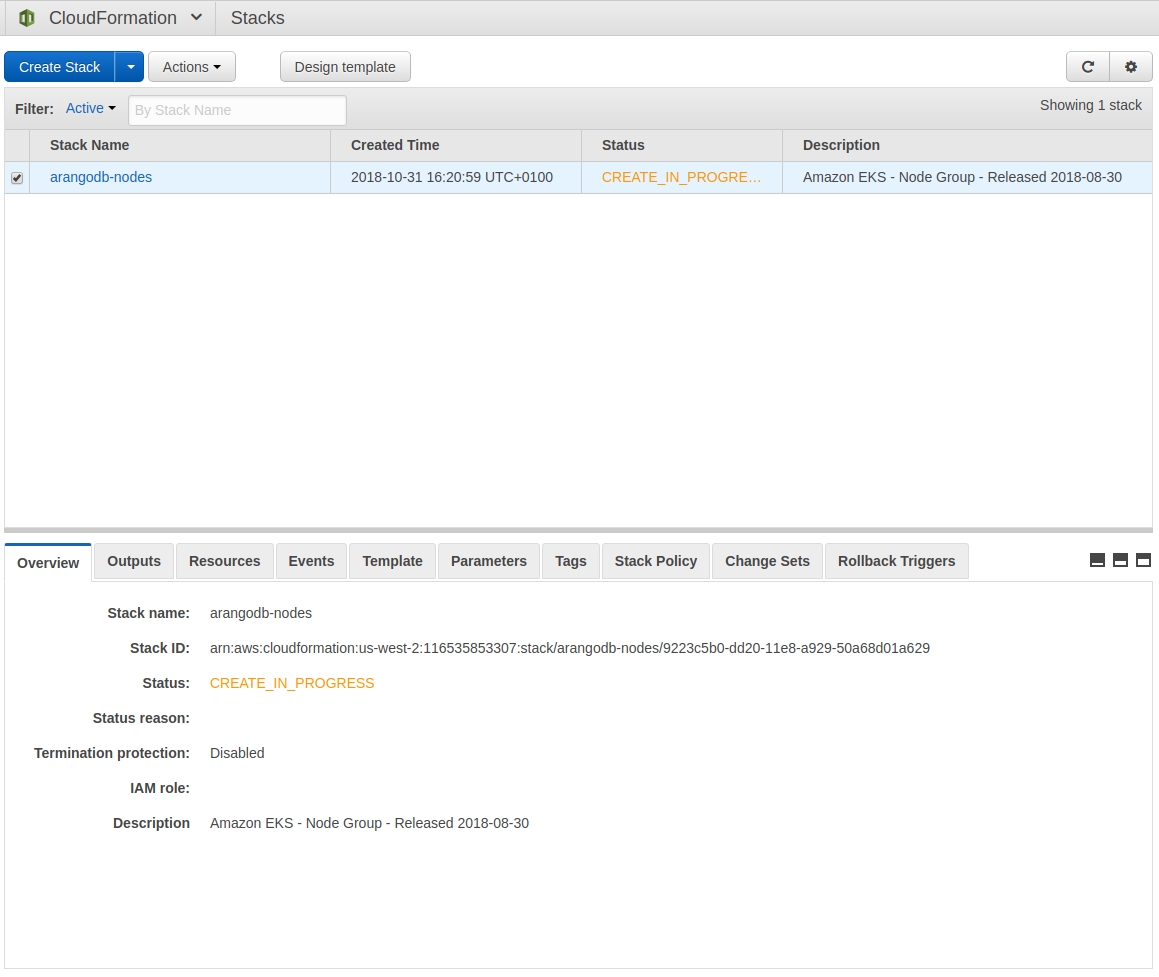
Note down NodeInstanceRole
Once stack is ready, navigate at the bottom to the Outputs pane and note down the NodeInstanceRole
Integrate worker stack as Kubernetes nodes
- Download the configuration map here:
$ curl -O https://amazon-eks.s3-us-west-2.amazonaws.com/cloudformation/2018-08-30/aws-auth-cm.yaml
Modify
data|mapRoles|rolearnto match theNoteInstanceRole, you acquired after your node stack was finishedDeploy node integration
$ kubectl apply -f aws-auth-cm.yaml
Monitor and watch your nodes to be ready
Setup helm
- Create service account for
tiller
$ kubectl create serviceaccount --namespace kube-system tillerserviceaccount/tiller created
- Allow
tillerto modify the cluster
$ kubectl create clusterrolebinding tiller-cluster-rule \--clusterrole=cluster-admin --serviceaccount=kube-system:tillerclusterrolebinding.rbac.authorization.k8s.io/tiller-cluster-rule created
- Initialize
helm
$ helm init --service-account tiller$HELM_HOME has been configured at ~/.helm....
Deploy ArangoDB cluster
$ kubectl apply -f https://raw.githubusercontent.com/arangodb/kube-arangodb/master/examples/simple-cluster.yaml
Wait for cluster to become ready
Do not forget to immediately assign a secure database password once on Coordinator

