
Using gridmaps
Collisions and navigation can also be added to the meshes, just like you would do with the tiles of a tilemap.
Example project
To learn how GridMaps work, start by downloading the sample project: .
Unzip this project and add it to the Project Manager using the “Import” button.
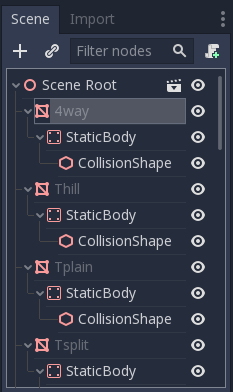
To begin, you need a MeshLibrary, which is a collection of individual meshes that can be used in the gridmap. Open the “MeshLibrary_Source.tscn” scene to see an example of how to set up the mesh library.
As you can see, this scene has a node as its root, and a number of MeshInstance node children.
If you don’t need any physics in your scene, then you’re done. However, in most cases you’ll want to assign collision bodies to the meshes.
Collisions
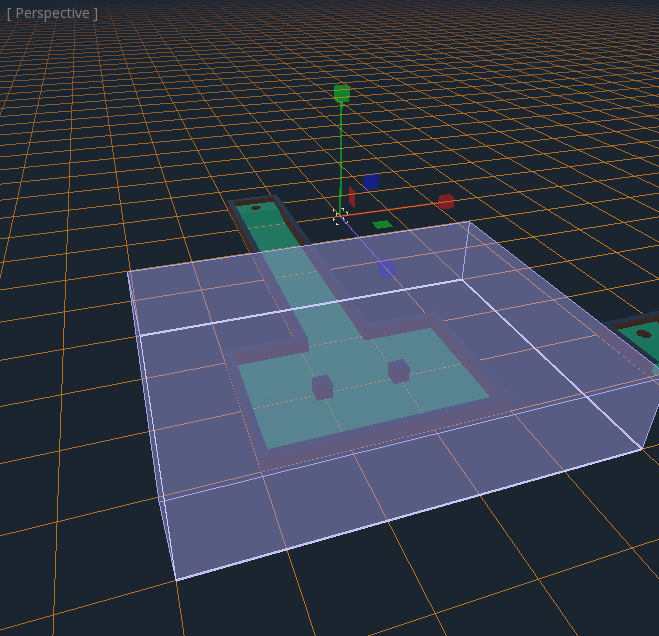
You can manually assign a and CollisionShape to each mesh. Alternatively, you can use the “Mesh” menu to automatically create the collision body based on the mesh data.
Note that a “Convex” collision body will work better for simple meshes. For more complex shapes, select “Create Trimesh Static Body”. Once each mesh has a physics body and collision shape assigned, your mesh library is ready to be used.
Only the materials from within the meshes are used when generating the mesh library. Materials set on the node will be ignored.
Exporting the MeshLibrary
To export the library, click on Scene -> Convert To.. -> MeshLibrary.., and save it as a resource.
You can find an already exported MeshLibrary in the project named “MeshLibrary.tres”.
Create a new scene and add a GridMap node. Add the mesh library by dragging the resource file from the FileSystem dock and dropping it in the “Theme” property in the Inspector.

Now you can start designing the level by choosing a tile from the palette and placing it with Left-Click in the editor window. To remove a tile, use Shift+Right-click.
Click on the “GridMap” menu to see options and shortcuts. For example, pressing “S” rotates a tile around the y-axis.
Holding <Shift> and dragging with the left mouse button will draw a selection box. You can duplicate or clear the selected area using the respective menu options.
In the menu, you can also change the axis you’re drawing on, as well as shift the drawing plane higher or lower on its axis.
Using GridMap in code
See for details on the node’s methods and member variables.

