
Changing application icon for Windows
The taskbar icon is the icon that shows up on the taskbar when your project is running.
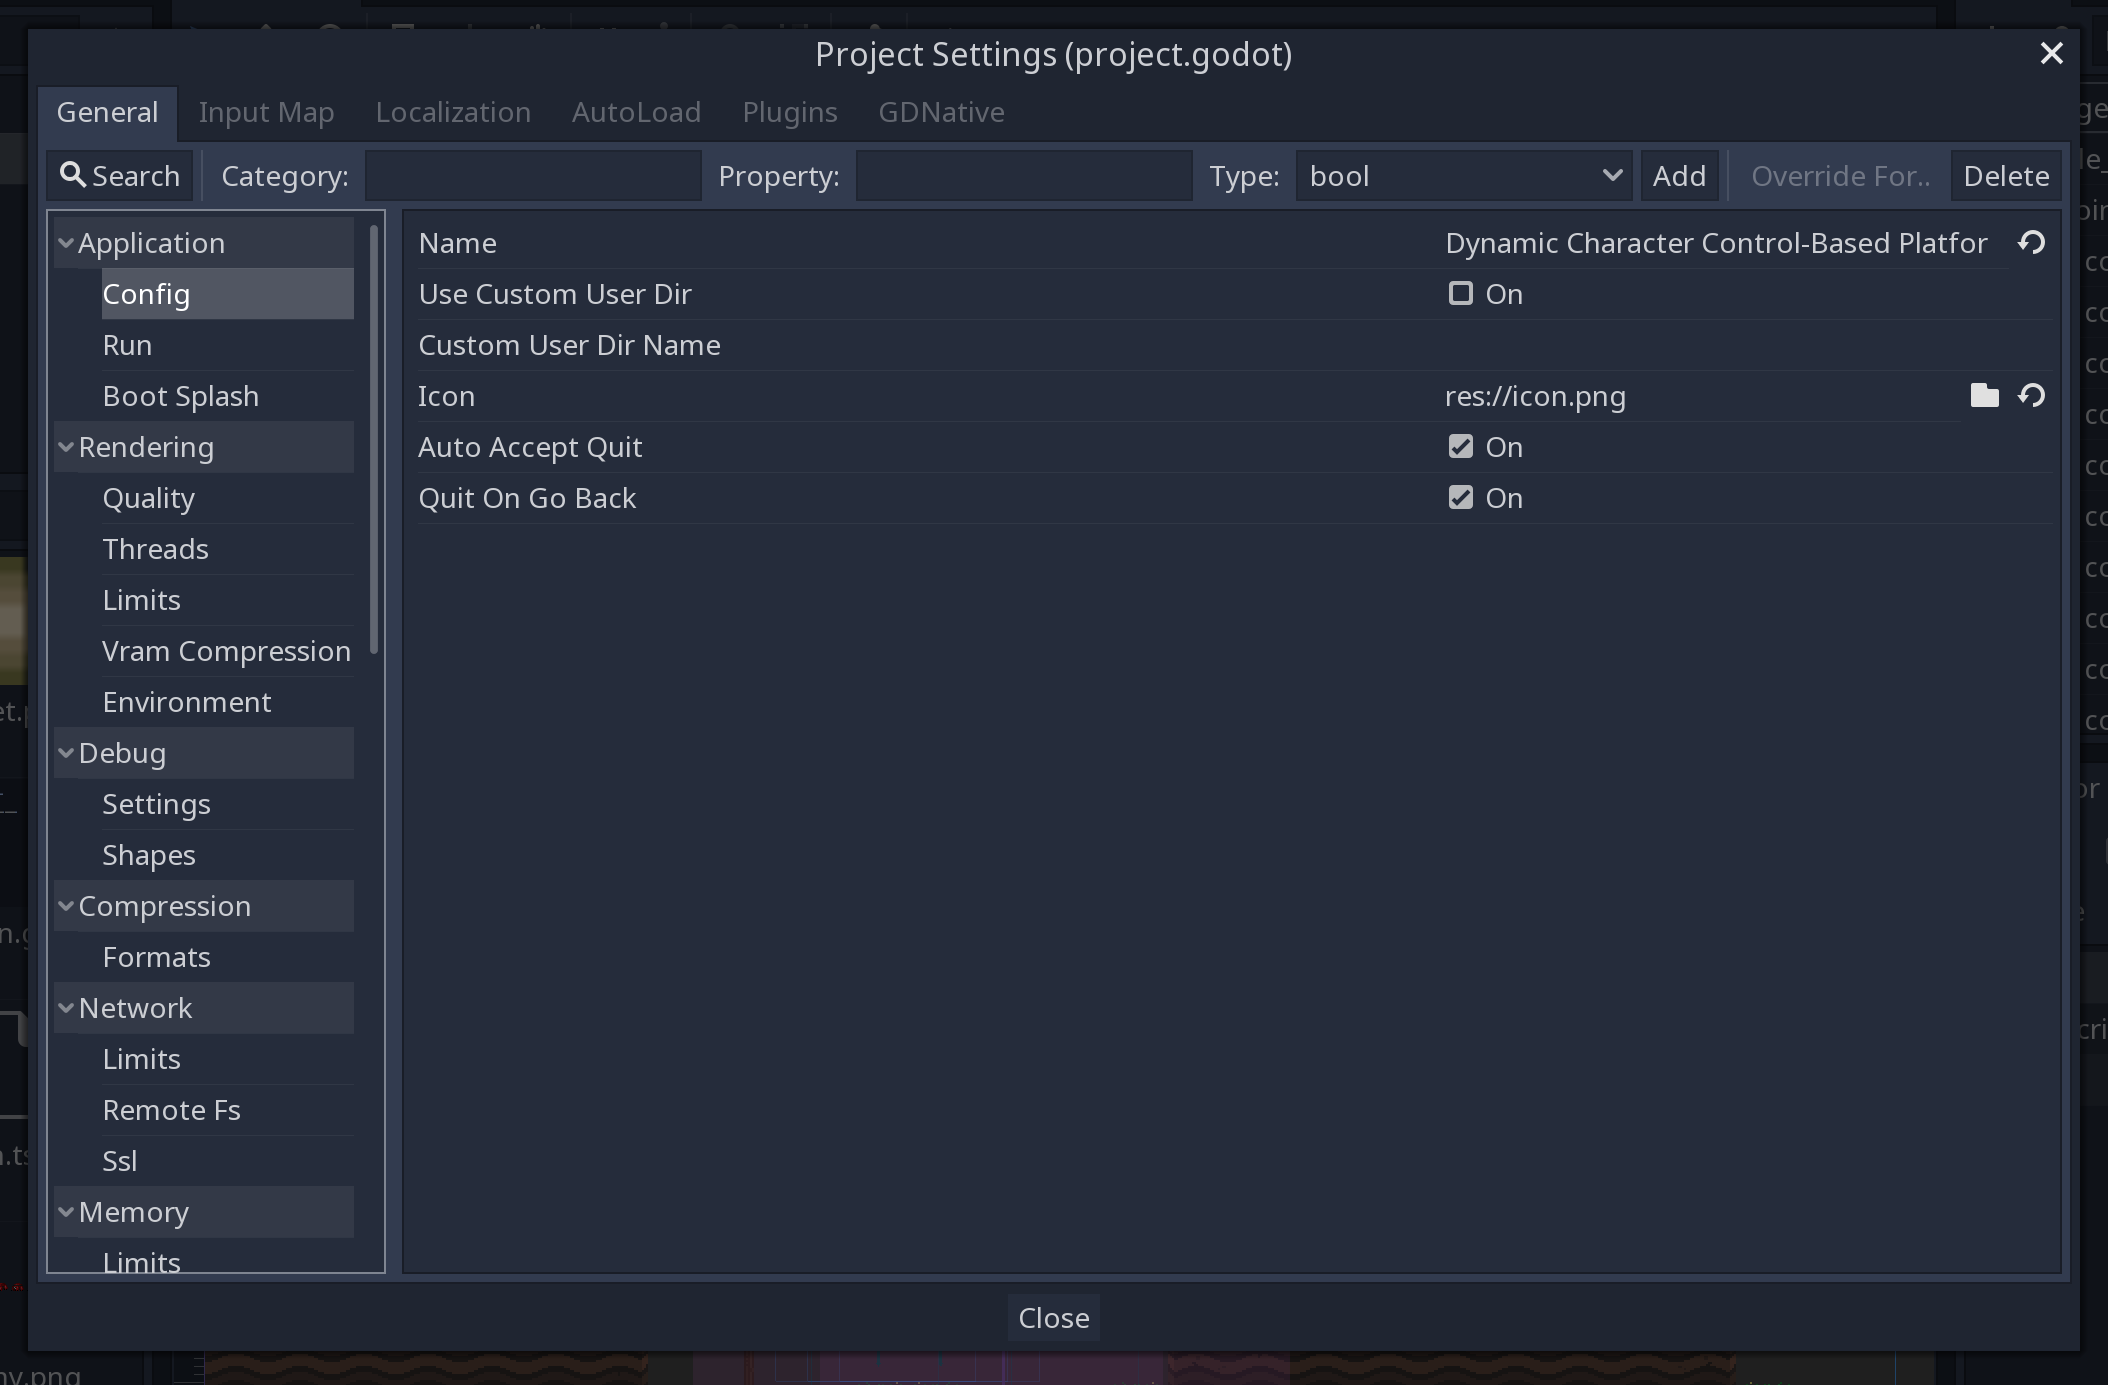
To change the taskbar icon, go to Project → Project Settings → Application → Config → Icon. Click on the folder icon and select your desired icon.
Note
This is also the icon that gets displayed in the Godot project list.
The file icon is the icon of the executable that you click on to start the project.
Before selecting it in the export options, you will need to install an extra tool called rcedit. You can download it .
After downloading, you need to tell Godot the path to the rcedit executable on your computer. Go to Editor → Editor Settings → Export → Windows. Click on the folder icon for the rcedit entry. Navigate to and select the rcedit executable.
Note
Linux and macOS users will also need to install WINE to use rcedit.
You should now have everything in place to change the file icon. To do that, you will need to specify the icon when exporting. Go to Project → Export. Assuming you have already created a Windows Desktop preset, select your icon in ICO format in the Application → Icon field.
Note

You can now export the project. If it worked correctly, you should see this:
Regardless of which program you use to create your ), there are some requirements to ensure the icon (and your executable) works on Windows.
This is a bit tricky, as can be seen in the following Stack Overflow threads: one, .
Your ICO file should at least contain icons in the following resolutions: 16×16, 48×48 and 256×256.
If you want to fully support high-DPI screens, this is the full list of supported icon sizes on Windows 10: 16, 20, 24, 28, 30, 31, 32, 40, 42, 47, 48, 56, 60, 63, 84 and one larger than 255 pixels (such as 256, 512 or 1024).

